Haiku is an open-source operating system that specifically targets personal computing. It’s inspired by BeOS. To learn about the history of BeOS and Haiku, check out the video The Rise, Fall, and Rebirth of BeOS.
Haiku runs on Intel processors, but what are your options if you have an Apple silicon Mac? You can actually run Haiku in UTM, a virtual machine platform that supports emulating other processors.
Let’s walk through the process of installing Haiku on UTM. You can go through the steps in this blog post or watch in video form:
These instructions were written on macOS Ventura 13.4.1 on an Apple M1 Max processor, with UTM 4.2.5 and Haiku R1/beta4.
Big thanks to Action Retro for giving me the UTM settings to use!
First, install UTM from the Mac App Store or by downloading from GitHub.
Next, download the latest Haiku beta .iso disk image file (beta 4 as of this writing).
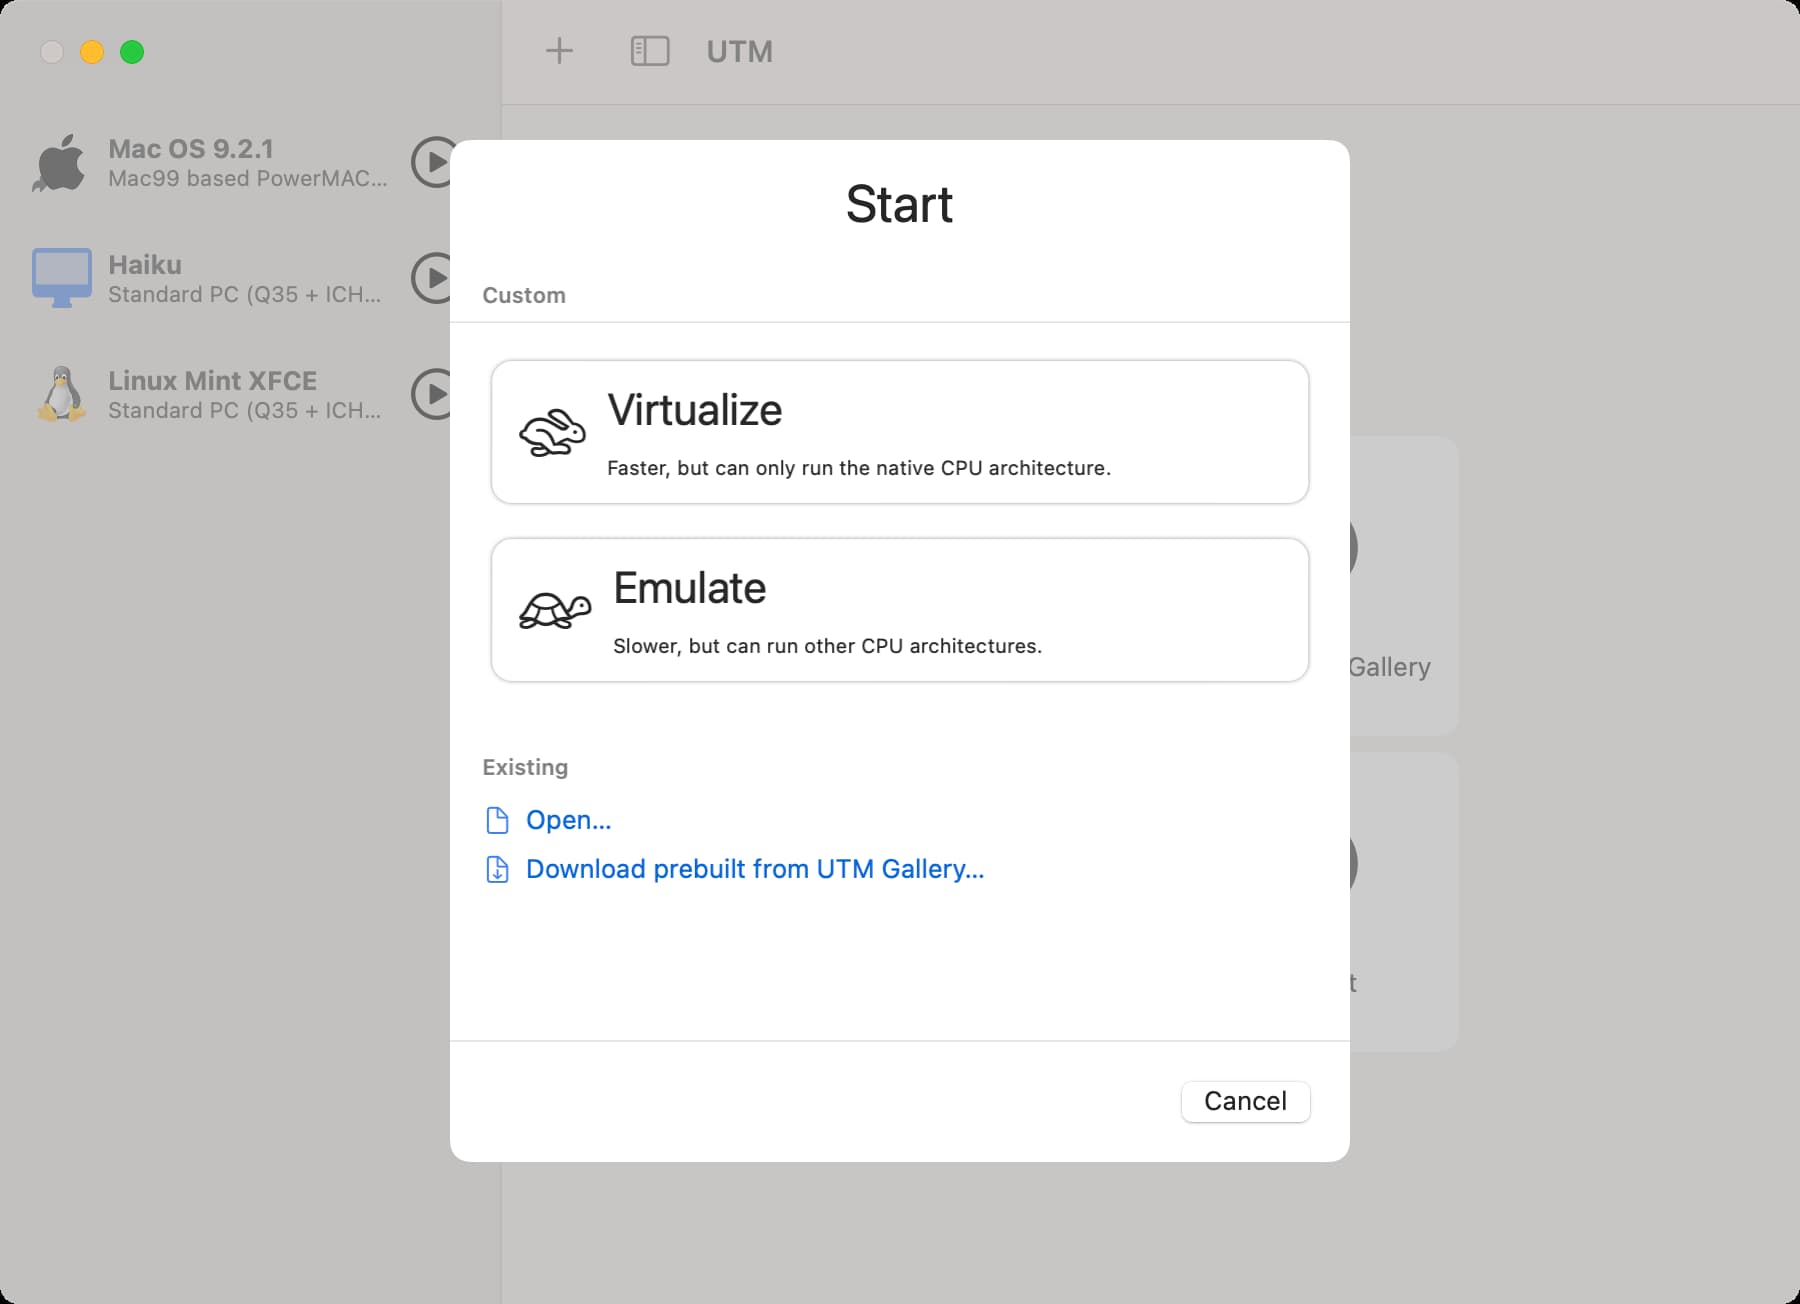
Start UTM and click “Create a New Virtual Machine”. Since we need to emulate an Intel processor, click “Emulate”.
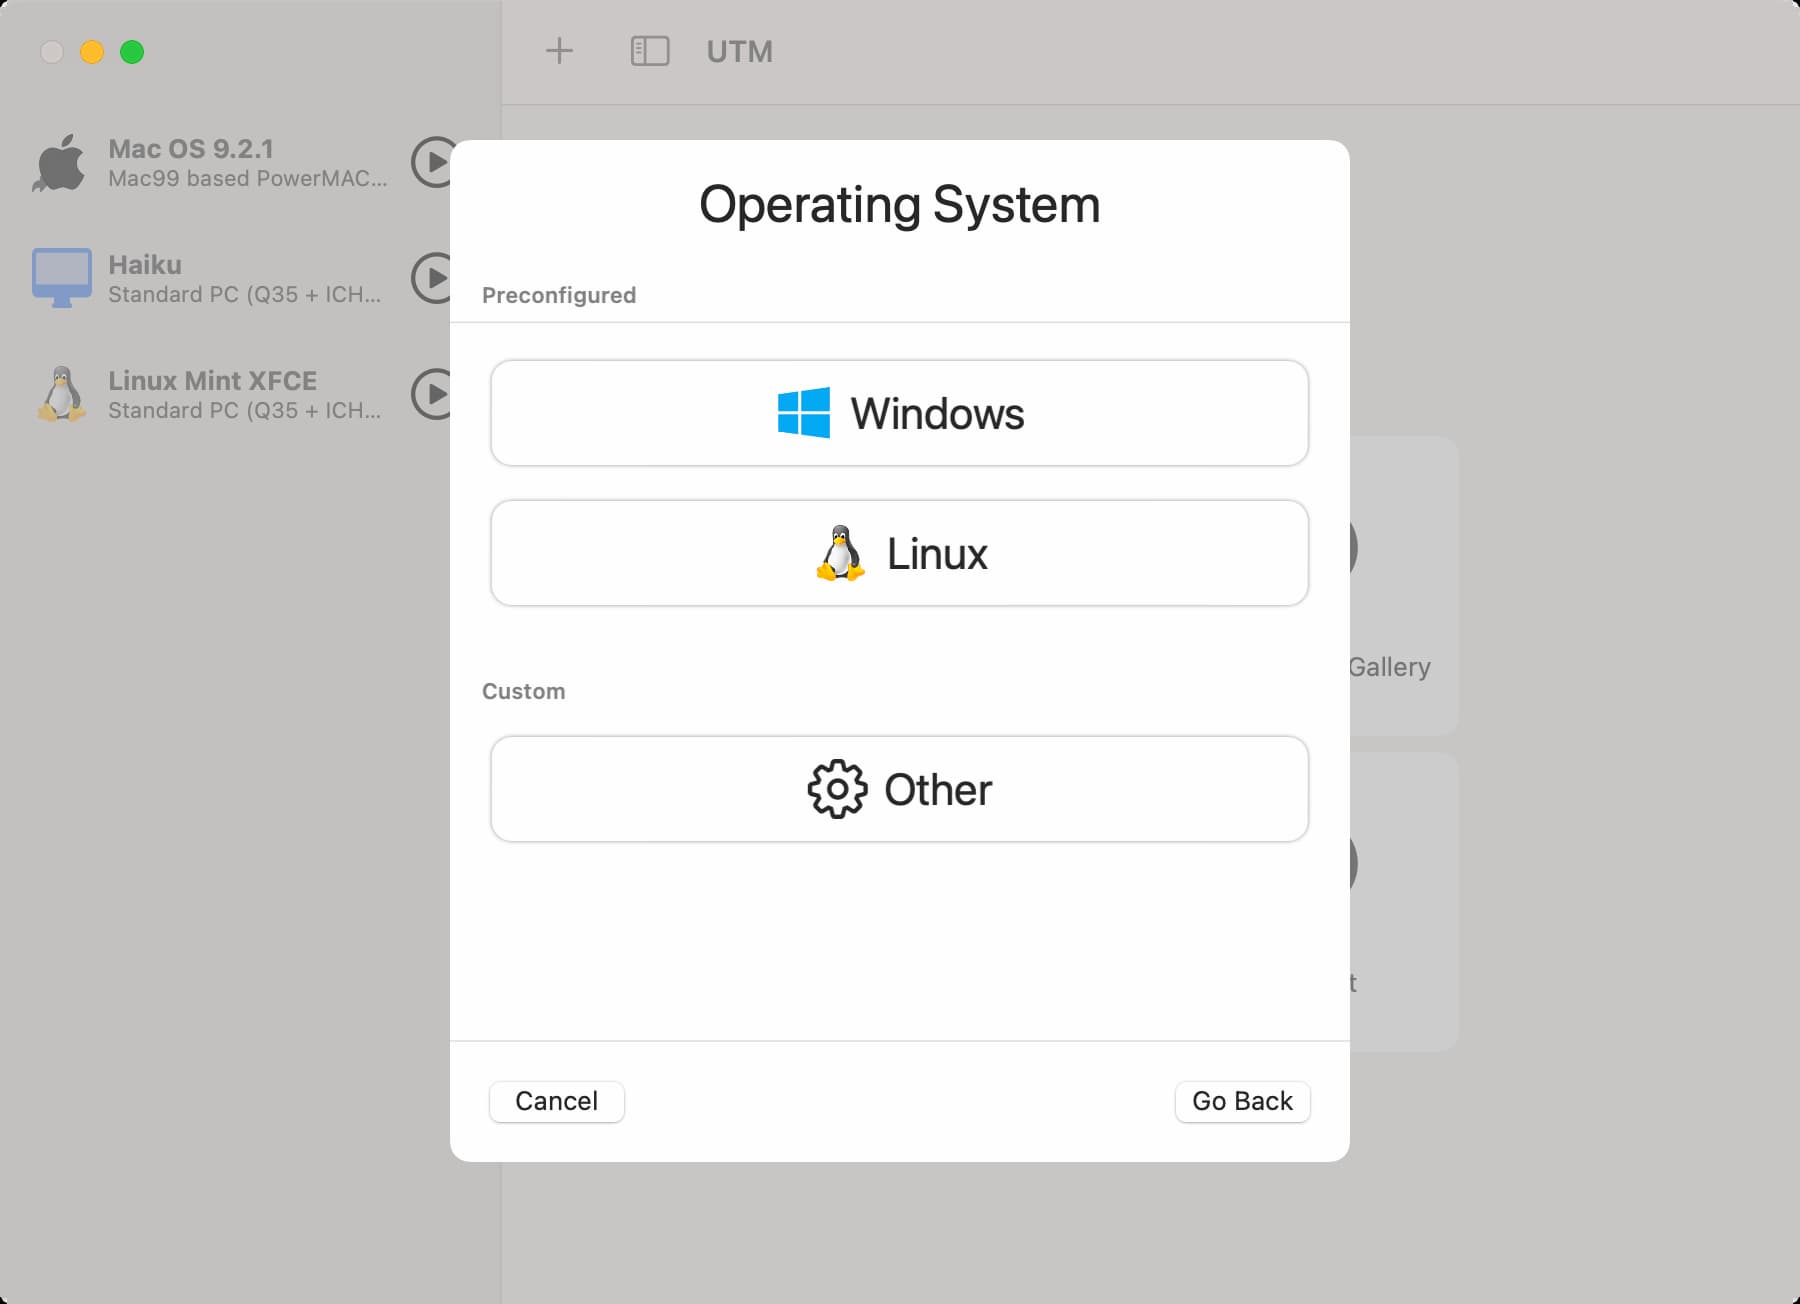
Under “Operating System”, click “Other”.
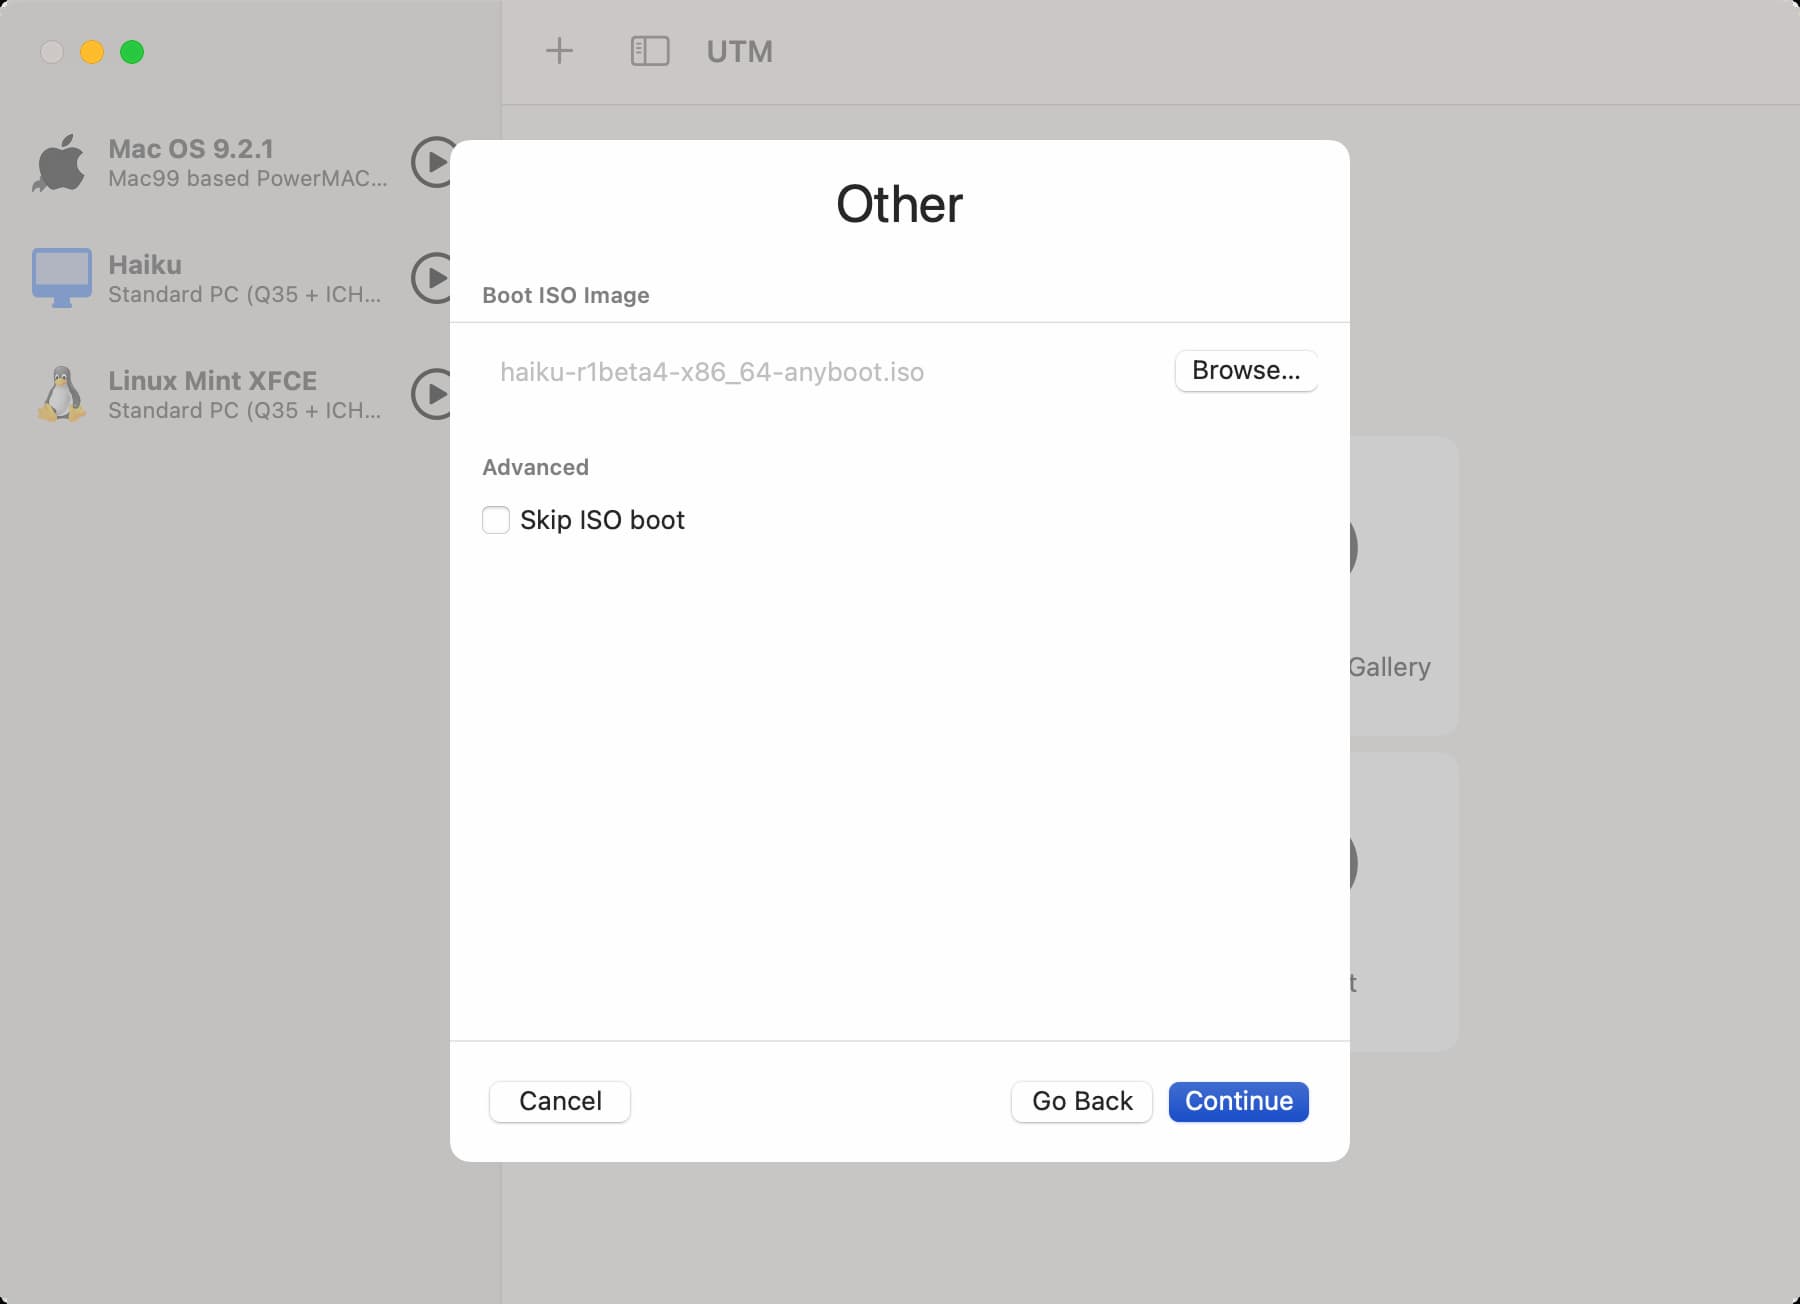
Under “Boot ISO Image”, click “Browse…”. Choose the Haiku .iso file you downloaded.
You can leave the default settings under “Hardware”, then the same for “Storage”, and “Shared Directory”.
Under “Summary”, change the name to something like “Haiku” so you can recognize it.
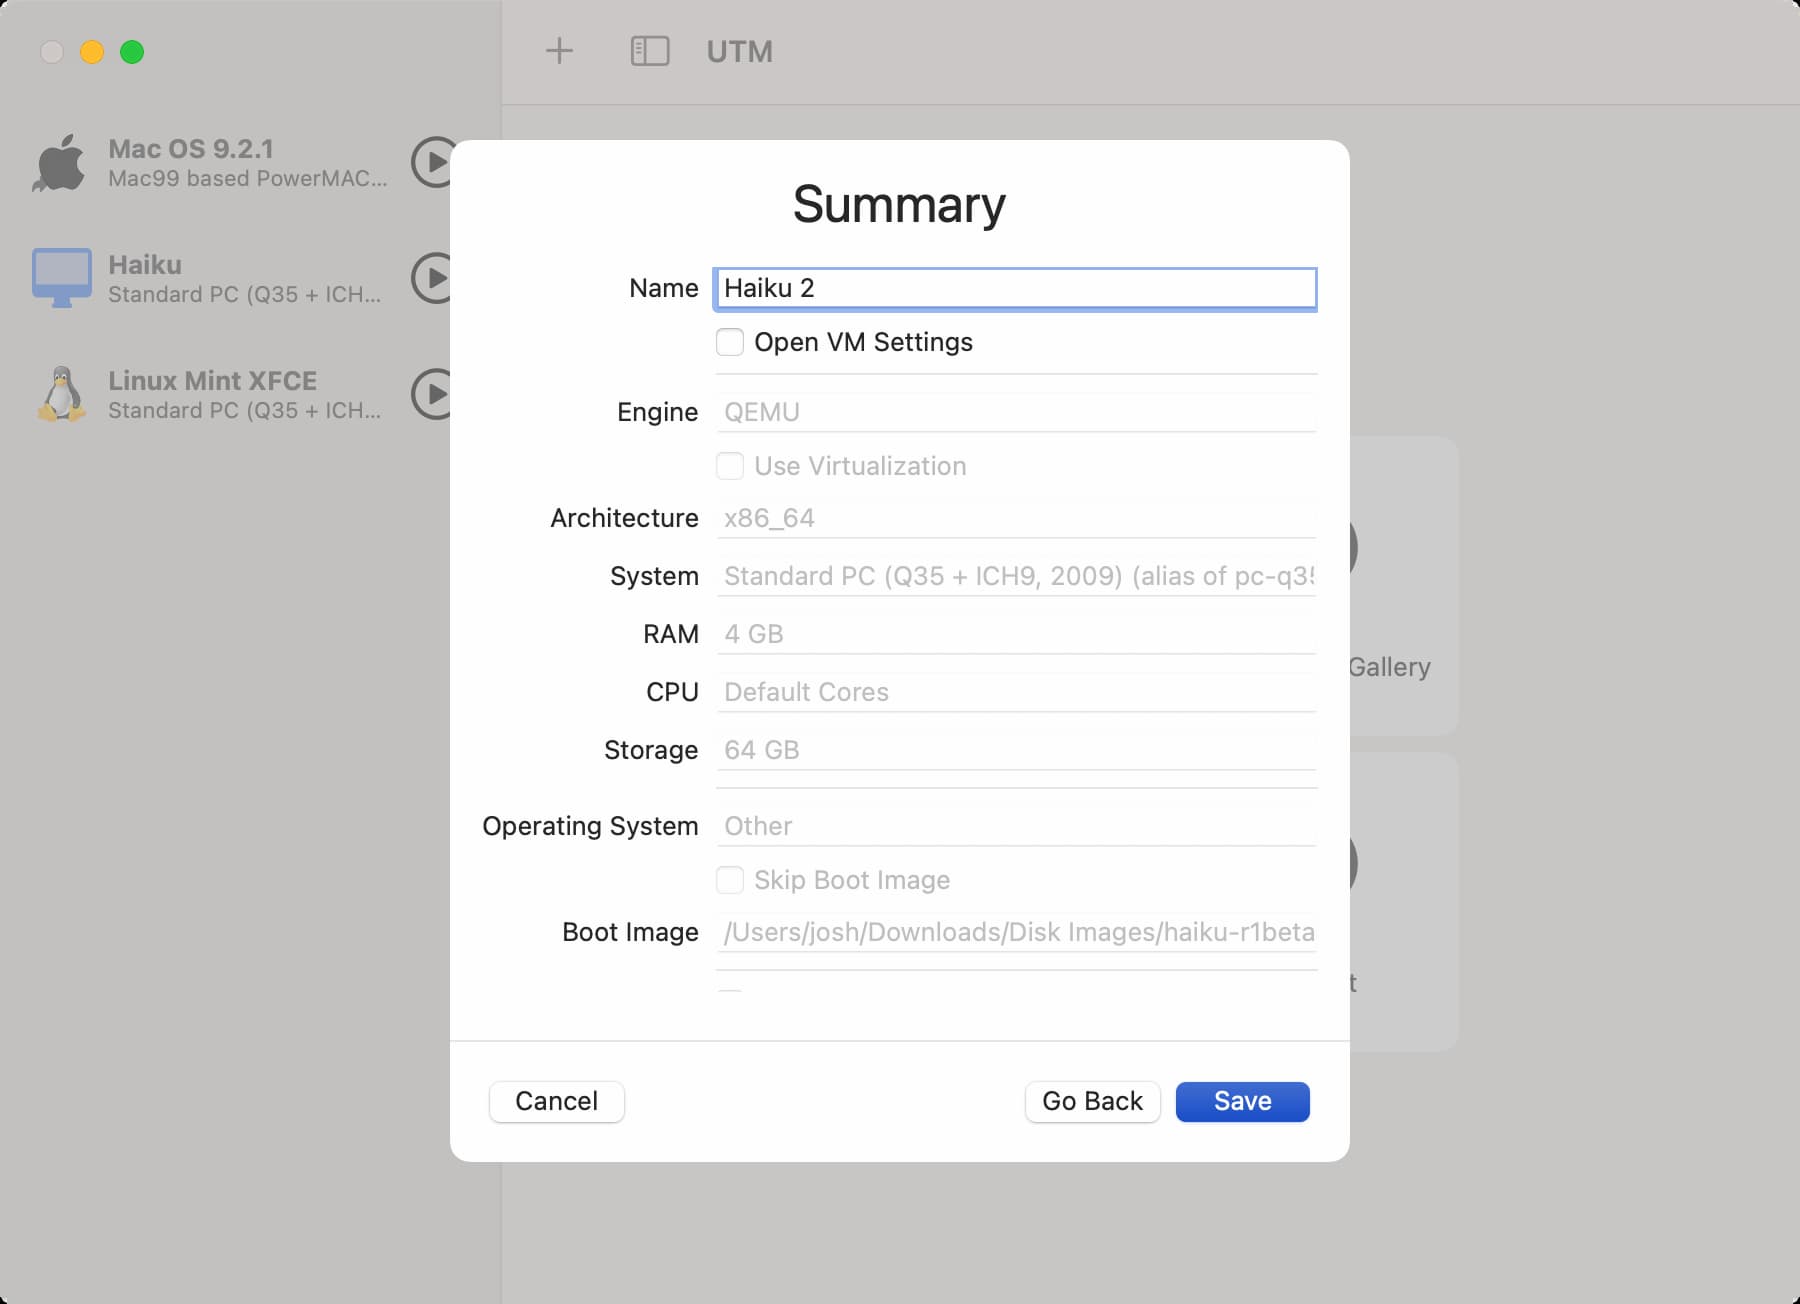
Click “Save”. The Haiku VM should show in the left-hand sidebar.

Click the play button next to it to start the VM.
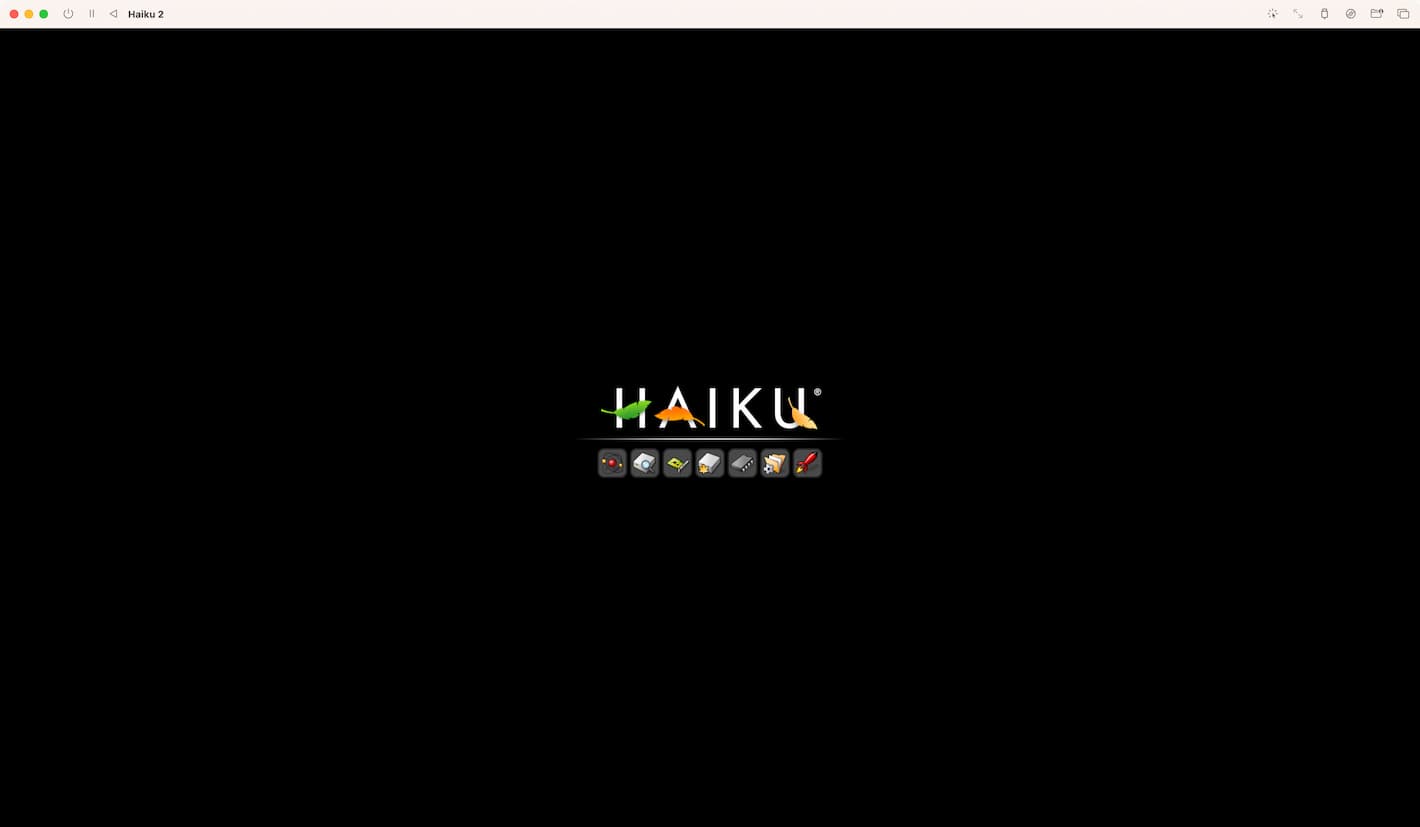
A window should appear and you should see the Haiku logo and startup screen.
After this you should see a “Welcome to Haiku!” window. On my machine the cursor is not responsive for a few seconds, but after this you should be able to seamlessly move the cursor into and out of the VM window.

If you want to go straight to the installer, you can click “Install Haiku”.
Or, if you want jump right to trying it out you can click “Try Haiku” to try it out booting off the .iso file. If you decide you want to install it (and why not, in a VM?), you can click the blue feather menu icon at top-right, then “Applications”, then “Installer”.
Either way you end up in the installer, click “Continue” to go past the welcome text screen.
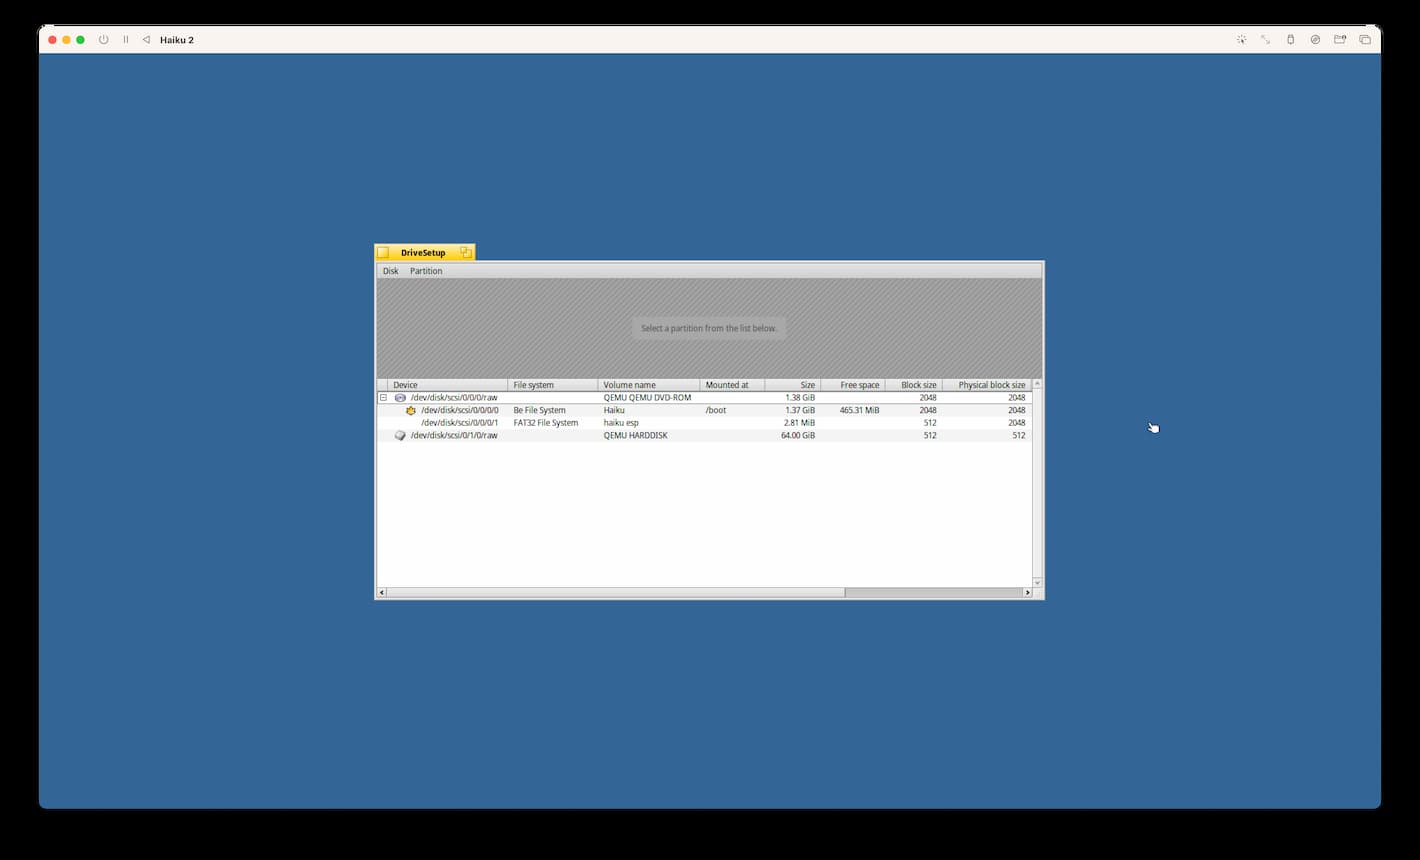
Next you should see a “No partitions have been found” error. This is expected: we need to format the virtual hard drive for Haiku. Click “OK”, then “Set up partitions…”. You will be brought to DriveSetup.
A warning about partitioning! Partitioning in general can erase data on your hard disk. You should be fine in this case if you followed the above instructions, because the VM should only see the virtual hard disk that is in a file, not your full physical hard disk. But I can’t be responsible for if you have any data loss. Make sure you know what you’re doing, always back up your computer, and stop and ask someone if you’re not sure!
Click the row with volume name “QEMU HARDDISK”. Then choose “Partition” > “Format” > “Be File System”. You’ll be asked “Are you sure you want to format a raw disk?”—choose “Continue”.
The next dialog will prompt you for a drive name and block size—you can keep the defaults.
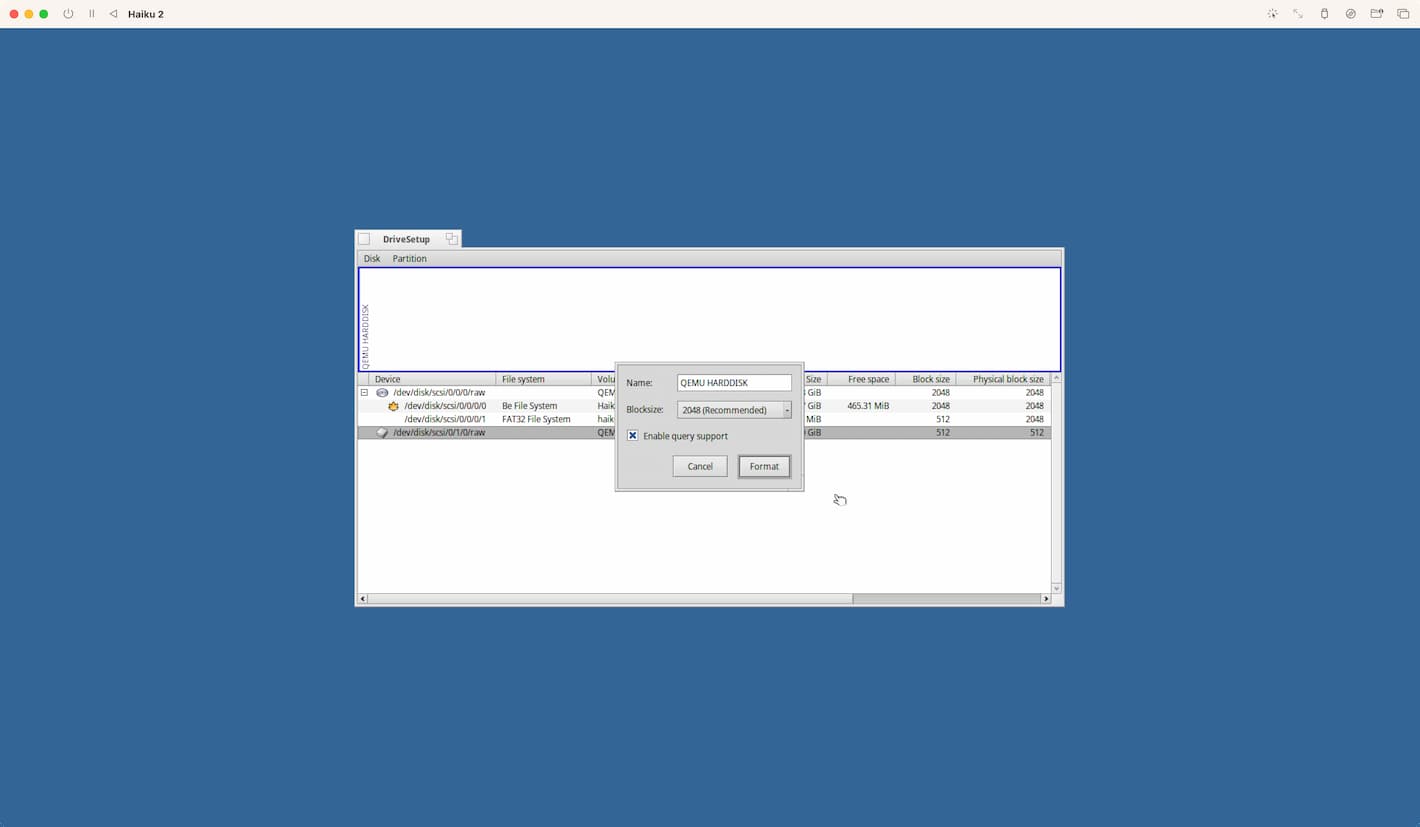
Click “Format”, then “Write changes”. Very quickly you should see a confirmation “The partition ‘QEMU HARDDISK’ has been successfully formatted.” Click OK.
Close out of DriveSetup by clicking the square at the top-left of the window tab. You will now be back at the Installer.
Click the dropdown next to “Onto”, and you should now see “QEMU HARDDISK” listed—choose it.
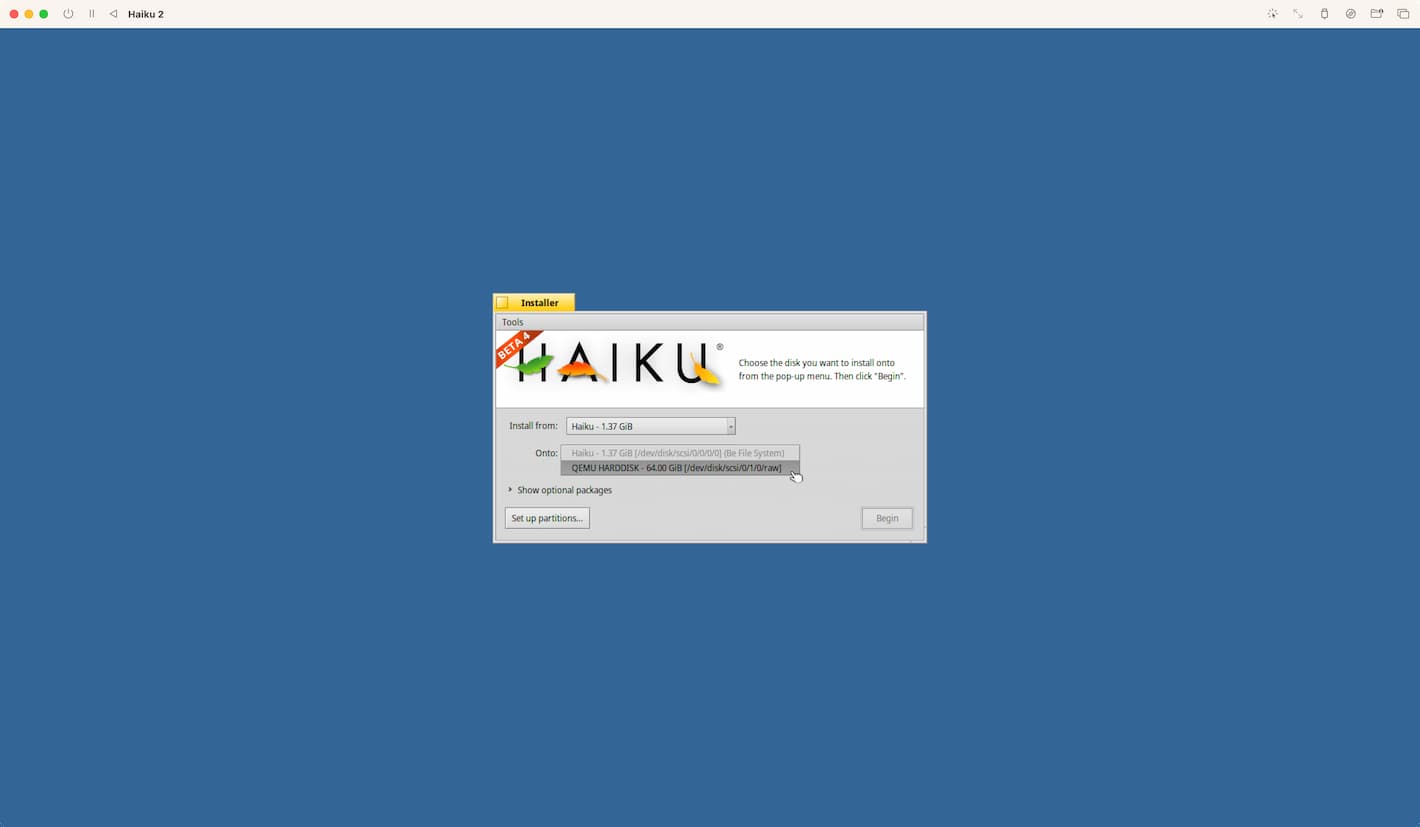
Now click “Begin”. Installation will start. After a minute or so, you will see a confirmation message “Installation completed.”
Click “Restart”. Haiku will restart, but it will boot into the installer again—this isn’t what we want. To tell the OS to shut down, choose “Try Haiku”, then click the feather menu > “Shutdown…” > “Power off”.
Close the VM window. This should take you back to the list of VMs. Make sure your Haiku VM is selected, then click the “CD/DVD” dropdown and choose “Clear”.
![]()
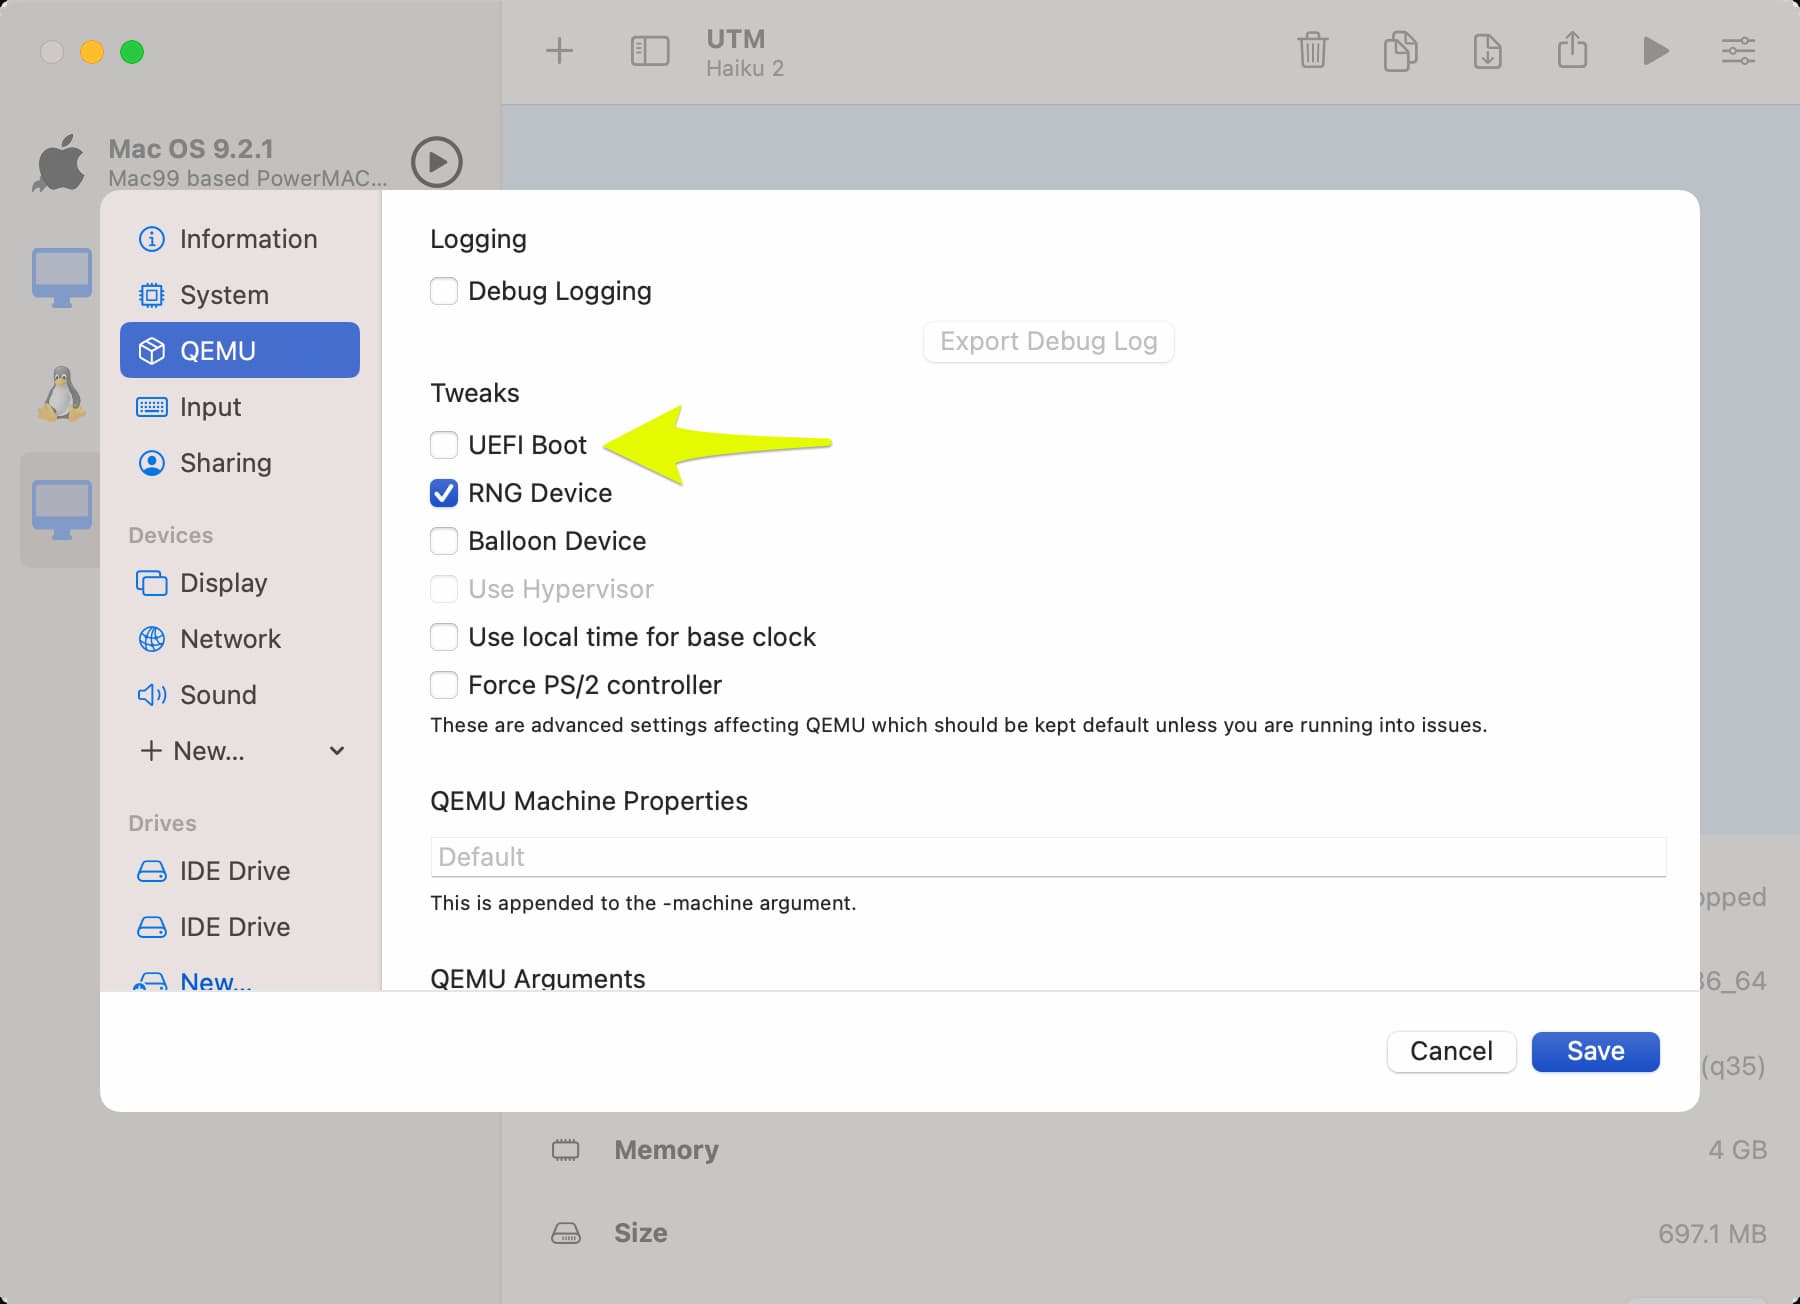
This next step is very important: without it, Haiku won’t boot, it will just put you into a terminal that fails to launch. Choose the “Edit selected VM” icon at the top-right of the toolbar: it looks like a series of sliders. Click “QEMU”, then uncheck “UEFI Boot”. Click “Save”.
Now, start the VM again. This time, it should boot right into the Haiku desktop.
